
Downloading Wireshark #
For this article we will be using Wireshark for our capture software.
Visit https://wireshark.org or use this conveniently placed hyperlink to go straight to the downloads page! Make sure you download the correct build for the system you are running the software on.
Capturing packets/data #
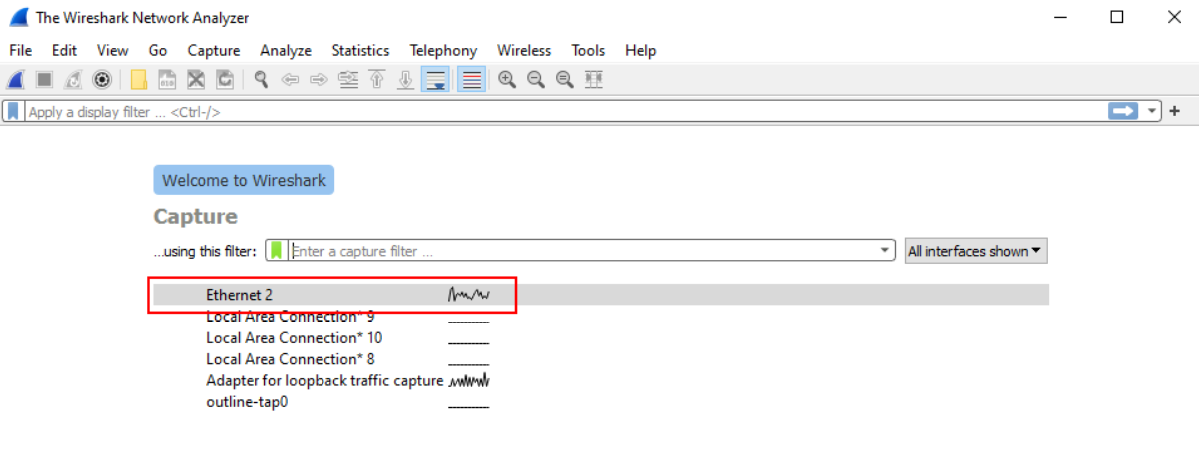
Once you have installed the software, open up Wireshark and you will be presented with a screen where you need to select your primary network adapter (or the adapter that the traffic will be sent/received through). In my case this is Ethernet 2, and is highlighted in red.
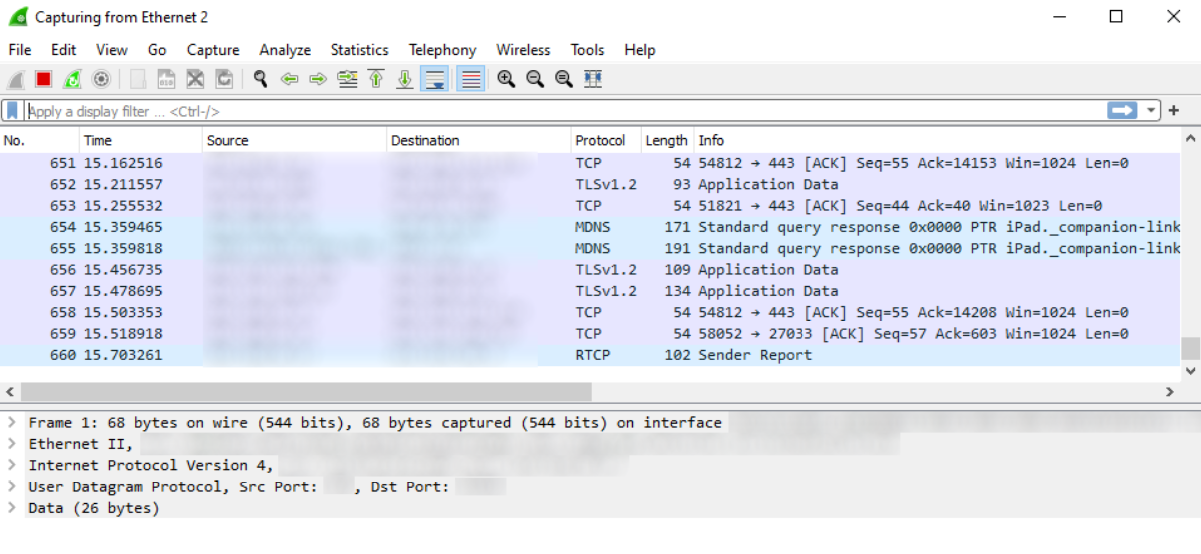
From the moment you click on your adapter, Wireshark will begin the packet capture, depending on what you have running on your adapter you will see lots (or maybe little) entries in the top sector.
Saving and uploading #
Once you have completed the reproductive steps that cause your issue and have collected the required packets, you can stop the capture in the top left.
You will then need to go to File > Save As and save the .pcap file somewhere ready for you to upload to your ticket/request.

That’s it you’re done! Once you have recorded your pcap either open a ticket stating your issue attaching the .pcap file in your root directory, or reply to the ticket you opened already!